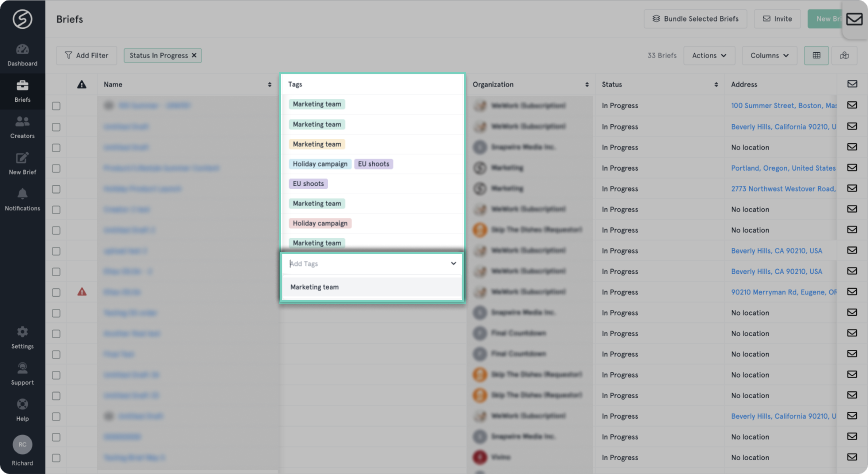
Project tags are an excellent way to organize multiple projects into one group. Similar to creator tags, project tags are fully customizable and are visible to all team members. You can also filter by a specific tag to narrow your projects list.
To create a project tag:
1. Navigate to your projects list.
2. Hover over the column titled "Tags".
Tip: ensure that you have the tags column visible by selecting it from the "Columns" drop down.
3. Click inside the tags cell of the project you'd like to create a tag for.
4. Name your tag and press enter. Your tag is now created and can be used for all projects!
To apply a tag, just click into the tags cell and start typing or click "Add Tags" in the header of your project page.
